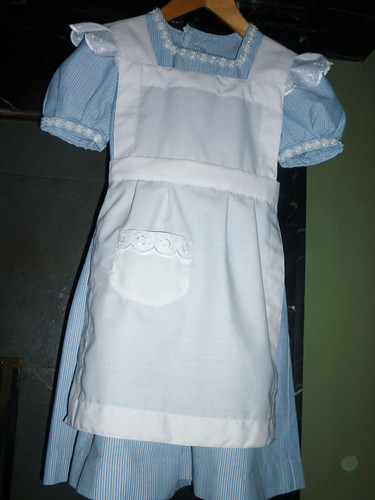
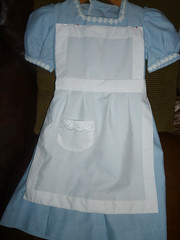
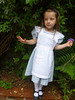
I’m slightly nervous about calling this a ‘tutorial’ so it’s an ‘un-tutorial’ instead! It’s how I made an Alice style pinny or apron for my daughter Cyan. She has this blue dress – it is her Alice dress, has been for a while, whenever she wants to be Alice this is the dress she wears. But she was always lamenting her lack of pinny. So I said I’d make her one. I just kinda made it up as I went along.
For this project I used almost 1m of basic white cotton fabric and about .5m of wide broderie anglais trim.
This can be broken down into 3 main stages. I took quite a few photos (maybe too many?!) so I've linked small images here, you can click them through to flickr to see them bigger.
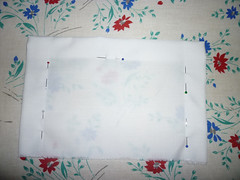
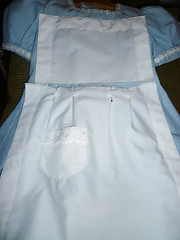
1. bib and skirt
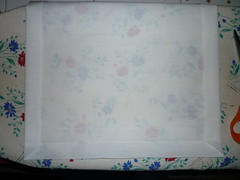
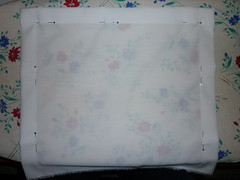
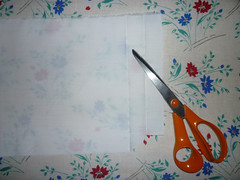
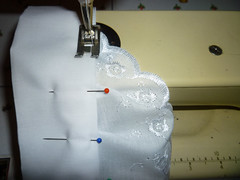
First I measured on the dress the sizes I wanted for the bib and skirt parts, then added 4" to the width of each and 3" to the depth of each. I cut the pieces so the selvedge edge is on the bottom of the bib and the top of the skirt. Then I made 1" doubled hems on the sides, top of bib and skirt bottom, pressed then pinned ready to sew. I sewed all the way around the outer 3 hems on each piece, right close to the edge; then sewed all the way around the inner line of the hem. This 1" doubled hem really gives the effect I wanted (see John Tenniel’s original illustrations for Alice in Wonderland).
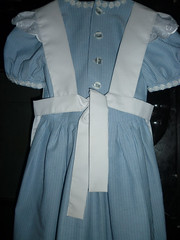
2. pocket and belt
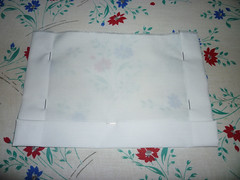
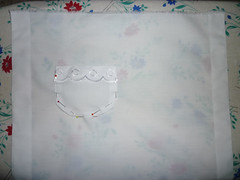
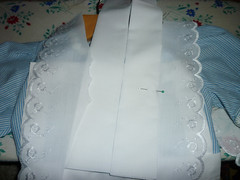
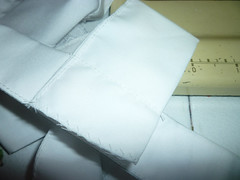
Making the little pocket was the hardest part! It should really have two pockets but I decided to just have one because a) I don’t think I could make two the same; and b) Cyan and the pinny are quite dinky and two pockets would have swamped it, probably, anyway – see a). So I made the pocket somehow, trimmed the top with broderie anglais (a bit posh for an Alice pinny really but it just looks so cute!) and sewed it onto the skirt. Next I cut a 4" strip of the longest width of my white fabric for the belt, this was folded and pressed inwards so it ended up 1" wide and quadruple thickness.
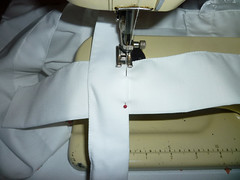
I then unfolded the belt and sewed the bottom of the bib to the back of the belt, with the open edge of the belt to the bottom – ready for the skirt to be inserted (some lateral thinking required here!).
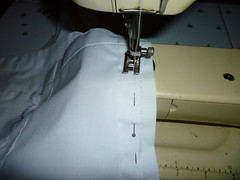
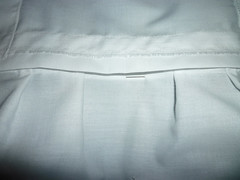
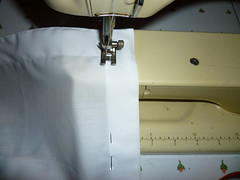
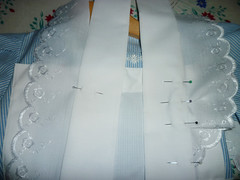
Before I pinned the skirt into the belt I pinned some tucks in the skirt top. Then I sewed up the belt, starting right at one end, all the way around, sewing in the skirt in the middle, and then all the way to the other end.


Almost done!
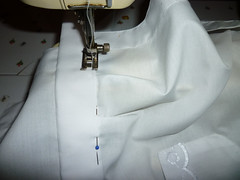
3. shoulder straps
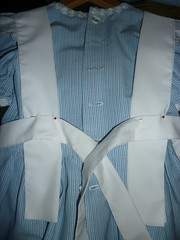
With the pinny pinned onto the dress I worked out how long and wide (about 1.75") I wanted the shoulder straps, cut them 4x wider, folded and pressed inwards same as for the belt. Then I worked out how long I needed the broderie anglais trim for the little cap sleevey bits. Cut, pin tucks, pin into straps – checking position on dress/pinny. Sew up straps, sewing in the broderie trim.
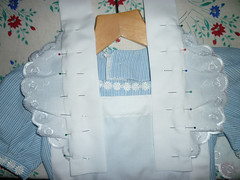
Next I carefully sewed the front strap ends to the top of the bib, hand sewing the ends on the back for neatness. I zig-zag stitched the ends first – no serger here!
Then I pinned the straps to the back of the belt, and then – for the first time – I had Cyan try it on so I could adjust where the straps join for a perfect fit!
Sew straps along top edge of belt, trim excess strap length, zig-zag stitch ends, sew straps along bottom edge of belt, done!
 Wait to see what I made for Oliver to be the Mad Hatter! I'm on a real creative high here!
Edit: see the photos here ..
Linked:


I can't wait for the big reveal with your two munchkins all dressed to go!!
ReplyDeleteWhat a fun pretending outfit. The pocket & shoulder details are really nice. Thanks for linking to Craftastic Monday!
ReplyDeleteThat is just precious!! Thanks for linking @Creative Itch's "Sew Cute Tuesday"!
ReplyDelete