Showing posts with label beach. Show all posts

Sunday, 6 March 2011

beach treasure mosaic mirrors


My sister Tressa and her boyfriend just recently moved home and the kids and I wanted to make a gift to take to their house warming party. Tressa loves the sea so we decided to make something using some of our collected beach treasures..

I thought we could make some mirrors with a mosaic border. I found these small round beveled edge mirrors cunningly disguised as candle plates for a £1 each! Exactly what I had in mind, don’t you love it when that happens!


The mirrors are about 4" diameter. I cut two 6" squares from 3mm plywood we have lying around. I then fixed the mirrors in the center using dual purpose tile adhesive/grout. I made sure to scrape off any excess around the edge. Ideally they should have been left to dry overnight at this stage but we were making them the morning of the party so I just left them for a couple of hours to dry.


I then got Oliver and Cyan to come and design their mosaic borders, using shells and sea glass from our collection. I also have some little tumbled glass mosaic tiles and they used a few of those too.


I was originally going to let the kids stick the pieces on, but I had a few concerns about this. I was not sure about the tile adhesive/grout on their hands as it’s not very skin friendly. Time was also an issue and I suspected it would be quicker to get them to work out their layout and then I would fix them after. I am so glad we did it this way, it is quite fiddly fixing the pieces on. I took photos of their layouts to refer to when I was sticking everything down:


Cyan’s design


Oliver’s design


I spread a fairly thick layer of tile adhesive/grout around the borders, working on a small area at a time, about half of one edge, to stop the adhesive drying too quickly.

Next time I make these (I am planning to make more for birthday gifts this year) I will make sure that the grout is up to the edges of the mirror at this stage. I didn’t – if you enlarge the above photo you can see there are gaps around the edge of the mirror. This meant I had to wait for it to dry and then go round and fill in those gaps which was a real pain, I discovered you can’t use the usual grouting method with these uneven objects!


Cyan’s mirror all finished


Oliver’s mirror all finished

Once they were all fixed and dry I painted round the edge of the plywood bases with white emulsion paint to tidy up the edges, I had scraped off excess grout around the edges when I was fixing the pieces on.

They turned out so pretty and Tressa loved them. I love both the kids’ designs – they are different but complimentary. Oliver was very proud of his symmetrical design and Cyan incorporated a little symmetry after Oliver explained symmetry to her, I love her combination of randomness with a little symmetry!

Linking up at some of the fabulous link parties in my sidebar, go check them out..

Saturday, 4 September 2010

holiday and camping

It’s been two weeks since I posted here.. This will be a long post but mostly pictures..

Karl & I had a couple of weeks off work and we spent some quality family time..

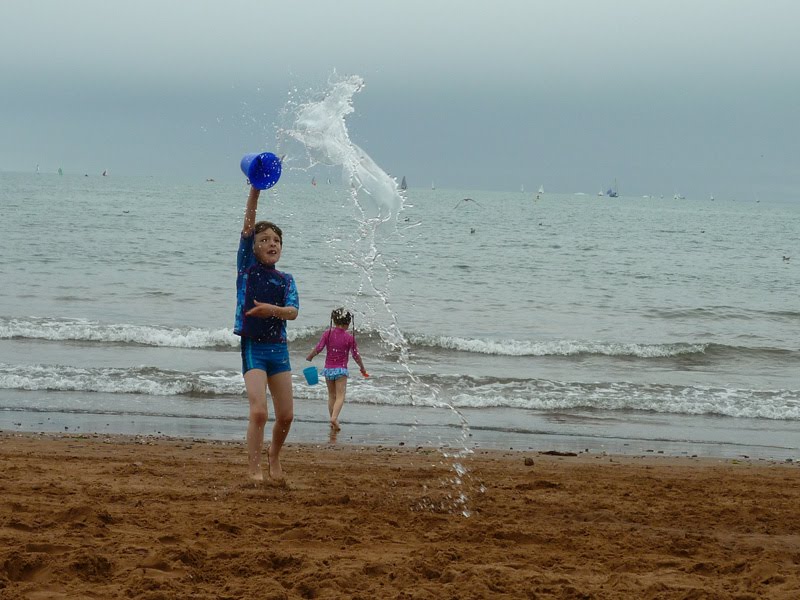
A day out to Paignton beach..


We took along the leftover cupcake flags from Oliver’s party to use for sandcastles.. (inspired by Joey's Dream Garden sandcastle flags)
Oliver made a sand dalek!


Cyan made a sand castle..


Oliver made a speed boat in the sand, and marked the edge with cocktail swords and mini daleks!


Got chased by waves..


Determined to transfer as much sea water as possible from the sea to the sand..


We also went camping for a few days at local River Dart Country Park..


This was the kids’ first time camping..


Happy campers! They loved it..


There was an awesome adventure play park in the woods..


The assault course was a big hit!


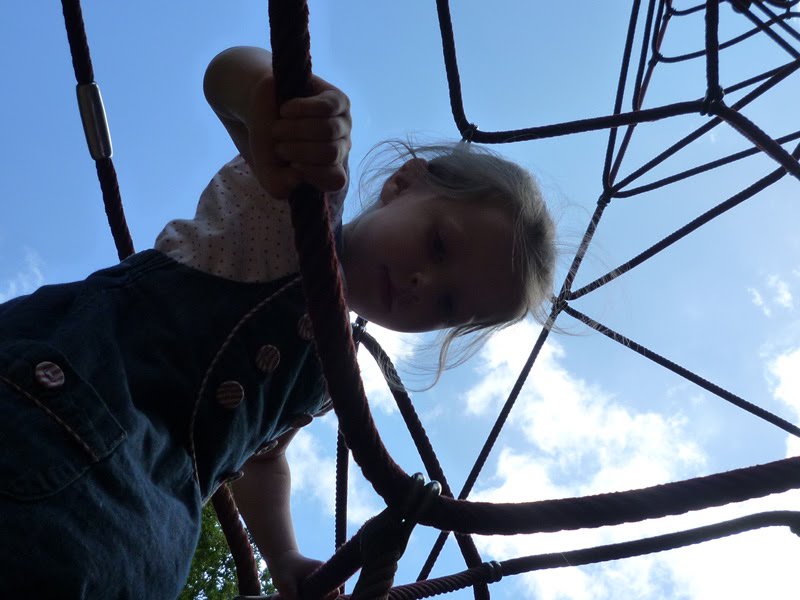
Oliver climbed all the way to the top of this rather large ‘spider-web’..


There were zip-wires..


A tree house..


A pirate ship!


Which you had to ‘walk the plank’ to get to/from it..


A little sandy beach..


A Victorian kissing chair by the house..


(Notice the white roses..
Cyan insisted I help her paint all these roses with imaginary red paint before the imaginary red queen who lived in the house (‘castle’) woke up and caught us!)

There were swings and climbing frames galore to keep the kids happy..


A full moon on our last night camping..


We had another day out later in the week when the weather was sunny again, to Woodlands this time..

More sand play..


Cyan found a zip wire just the right size for her, which she was very happy about!


Lots of rides and stuff, most of which I went on - so didn’t photograph..


The kids love this merry-go-round..


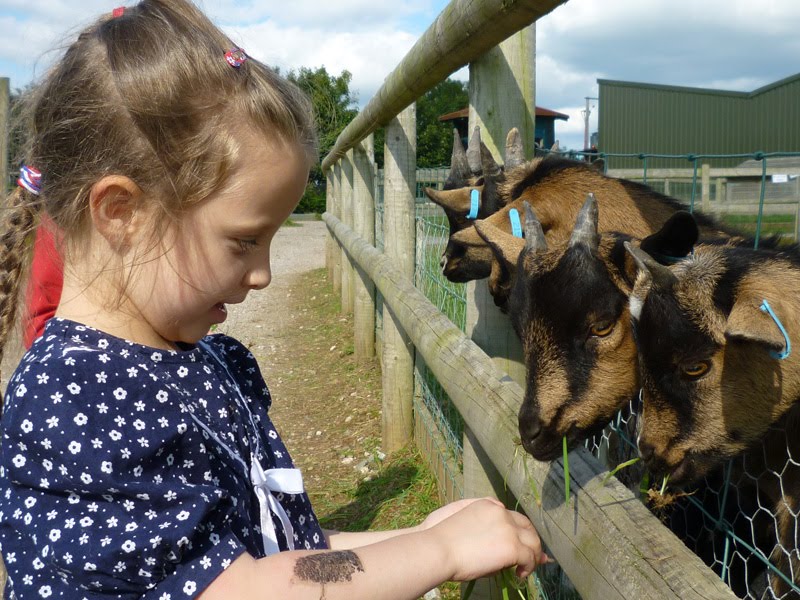
And they loved these goat kids even more..


They were cute! Kids feeding kids..


They didn’t want to leave..

Saturday, 10 July 2010

mini notebooks ~ fun in the sun crafty ribbons

mini beach ribbon notebook

I made these little notebooks for my second part of the Crafty Ribbons Fun in the Sun challenge, using various Fun in the Sun ribbons along with some other ribbons from my stash to cover the fronts of these little notebooks. I was going to make a couple of different ones.. I got a bit carried away working out cute ribbon combos and ended up making five!

goldfish ribbon notebook

sailor ribbon notebook

pink ladybird ribbon notebook

ice cream ribbon notebook

The first was made to match the mini beach bag I made..

mini beach bag and ribbon notebook

mini beach bag and ribbon notebook

I made these books from mixed pastel coloured printer paper, with covers from offcuts of cardstock. I stitched them on my sewing machine to bind them. I also ran the inner pages through the machine with no thread first – to perforate the sheets – this means pages can be torn out if required. My inspiration for these notebooks came from Camille over at the Mother*Lode who made some cute little books for her kids to doodle in.

notebook with perforated pages

As an afterthought I added some really cute little 3D sticker embellishments and little puffy gingham hearts from my stash, which coordinated perfectly with all the ribbons. I used Mod Podge to stick the ribbons and embellishments, on reflection it was maybe not the best thing to stick the ribbons, but I just bought it recently and have been dying to try it out on something!

Oliver has been drooling over these today as I was finishing them off – so I have promised to make up some more for him and Cyan in a larger size which they can use for doodle pads.. Oliver’s favourite is (predictably) the goldfish version, I can't decide which is my favourite – they all turned out so cute!

Linked:

NightOwlCrafting
Related Posts with Thumbnails